UPDATE (7): February 27, 2004
I've now started on the painting stage that, in my opinion, is the most important and nerve wracking of the whole process....THE EYES! This is the part that can make or break the bust. Gonna keep my fingers crossed! On second thought, better not...I'll need every finger I have :)
Here goes...
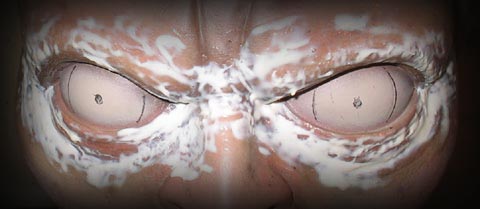
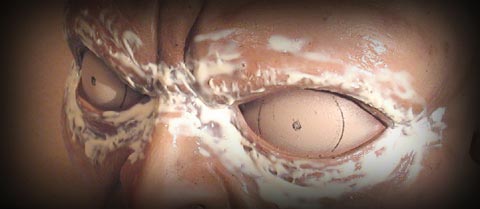
1) I sprayed the eyeballs with a light gray/ivory base. The color fades off towards the outer edges of the eyeballs, but that's OK. It'll be fixed in due course.


2) Measured the center of each eye and pencilled in the pupils.
3) Using an el cheapo compass from a geometry set, I attached a charcoal pencil to it and carefully drew the circumference of the irises.


4) A layer of liquied latex (Mold Builder) is carefully brushed around the perimeter of the eyes. I made sure that the lids were covered as well. This will allow me a greater freedom to airbrush. The Dullcote will protect the paint from the ammonia-based latex.
UPDATE (8): February 28, 2004
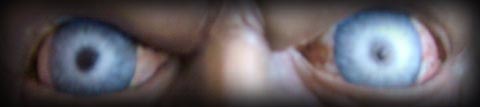
5) After several aborted attempts, I finally see something I like.
6) Although the base layers of the scelaria and iris were airbrushed, I went over the iris with a very fine brush adding layers of various shades of blue, brown and white.
7) To blend everything together, I carefully misted the iris with the base color (thinned 50%).
8) The pupils were added.

9) As a final step, I mixed the base color with Titanium White to reach a very light blue and airbrushed it around the pupil.
10) Sealed the eyes twice with Dullcote.
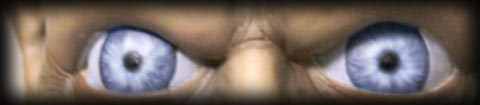
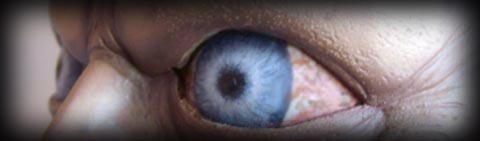
11) Added the veins using inks and washes
12) Specular highlights were brushed in as well.